
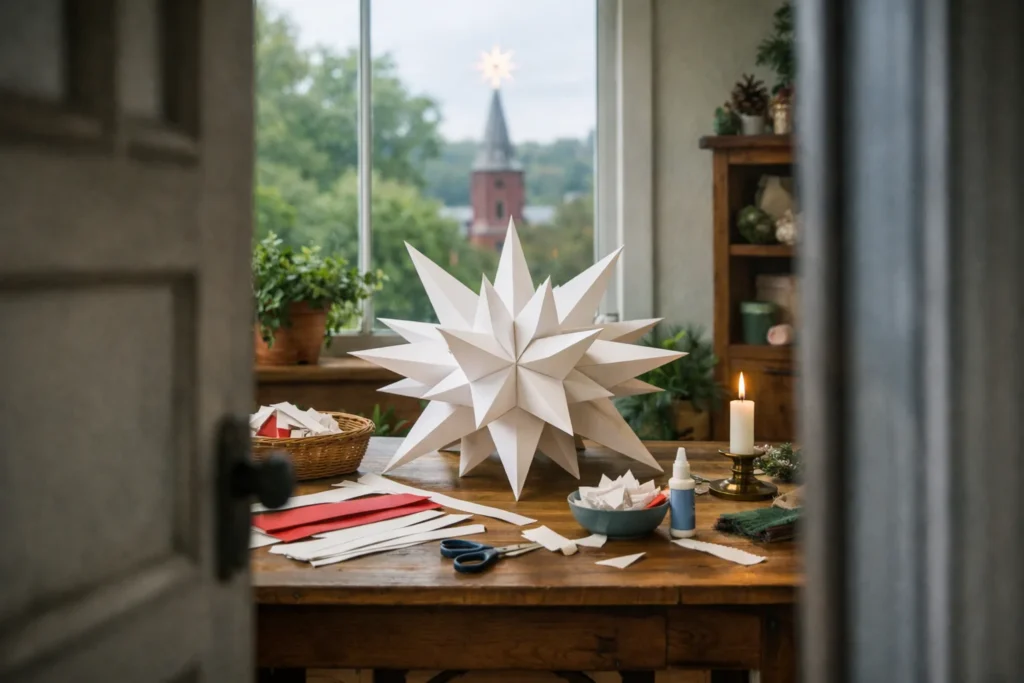
Walk through Bethlehem, Pennsylvania, in December and you will see a star in nearly every window, hanging from porches, and strung above the streets. The Moravian star, with its many pointed rays, is the symbol of the city’s Christmas season. You can make a paper version at home. It takes patience, a flat table, and an afternoon, but the result is a lantern you will keep for years.
Where the star comes from
Bethlehem was founded in 1741 by Moravian settlers, members of a Protestant church that traces its roots to 15th-century Bohemia. The star itself is usually dated to the 1800s, when students at a Moravian boarding school in Germany are said to have built geometric stars as a classroom exercise. Over time the design traveled with the church, and by the time it reached Pennsylvania it had become a holiday tradition: a symbol of the Star of Bethlehem, hung during Advent. The Wikipedia article on the Moravian star is a good starting point if you want the longer history.
The classic star is a three-dimensional shape, made of square-based points and triangular-based points joined into a single globe. Traditional stars have 26 points in all: 18 four-sided and 8 three-sided. One point is usually left open, so the star shows 25 points and has an opening at the top for the light. That is the pattern this project follows.
What you need
- Heavy paper or lightweight cardstock, in white, cream, or a pale color; about 110 lb (300 gsm) is the upper limit before folds crack
- A printed or hand-drawn template for the two shapes: a square-based point and a triangle-based point
- A craft knife or sharp scissors, a metal ruler, and a self-healing mat
- A bone folder or the back of a spoon for scoring
- Craft glue that dries clear, and small paper clips to hold joins
- Small metal brads or paper fasteners, 25 or 26 of them
- A battery-powered LED light string or puck light
Have an adult handle the knife. If children help, give them the scoring and folding jobs. Check that paints and glue carry the ACMI seal.
Cut and score the points
Each point is a small pyramid, drawn as a flat star-shaped net with tabs. The square-based net looks like a plus sign with triangles attached to each arm; the triangular net is a smaller shape with three triangles around a center. Cut out 18 of the larger nets and 8 of the smaller ones.
- Lay each cut piece on the mat and score along the fold lines with the ruler and bone folder. Pressing too hard cuts through the paper, so use light pressure.
- Fold every line, away from you for valleys and toward you for mountains, then flatten the net to see how it wants to bend.
- Write a small number on the back of each net so you can match the pieces later.
Assemble the points
Fold each net into a pyramid with the tab tucked inside the neighboring face. Put a thin line of glue on the tab, press for about 20 seconds, and hold with a paper clip while it dries. Work on one point at a time. It helps to set the finished points in a muffin tin so they do not roll away.
Make all 26 points before you try to join them. Check each one, because a crooked pyramid makes the whole star lean.
Join the star
Each point has a flat base with tabs. Join the points around a ring first: the central band of square points forms an equator, with the triangular points filling the corners above and below. Work in small groups so you can see the pattern.
- Join five points around a pentagon-style cluster for the top.
- Do the same for the bottom, leaving one point open at the top.
- Connect the two halves with the equator ring.
- Secure each join with a brad or a dot of glue, whichever matches your paper weight.
If it does not close neatly, back up one step. Stars forgive small gaps but not twisted points.
Light it safely
Do not put an incandescent bulb inside a paper star. The heat can scorch the paper, and in a closed space it is a real fire risk. Use a battery-powered LED light, which stays cool, and drop it through the open point. A string of warm-white LEDs gives the same soft glow that people recognize from Bethlehem’s windows. Hang the star on a clear nylon thread or a loop of ribbon away from curtains, and switch the light off when you leave the room.
Variations
- Use vellum for a translucent star that glows without a bulb poking through.
- Cut tiny holes in the points with a hole punch for a starry pattern when the light is on.
- Make a small tree-ornament version at half scale, though the folds get fiddly.
- Use two colors, alternating the square points and the triangular points.
Keep it for next year
Store the finished star in a box slightly larger than the star itself, with tissue paper stuffed gently around it. Keep the box off the floor and away from damp basements and hot attics. Paper stars hold up for years when they are dry and dust-free, and a light brush with a soft paintbrush cleans them without crushing the points. If one point gets dented, press it back with a fingertip and a drop of glue.
If this project gets you into paper, try your hand at paper crafts and printables for more folding and cutting ideas.