
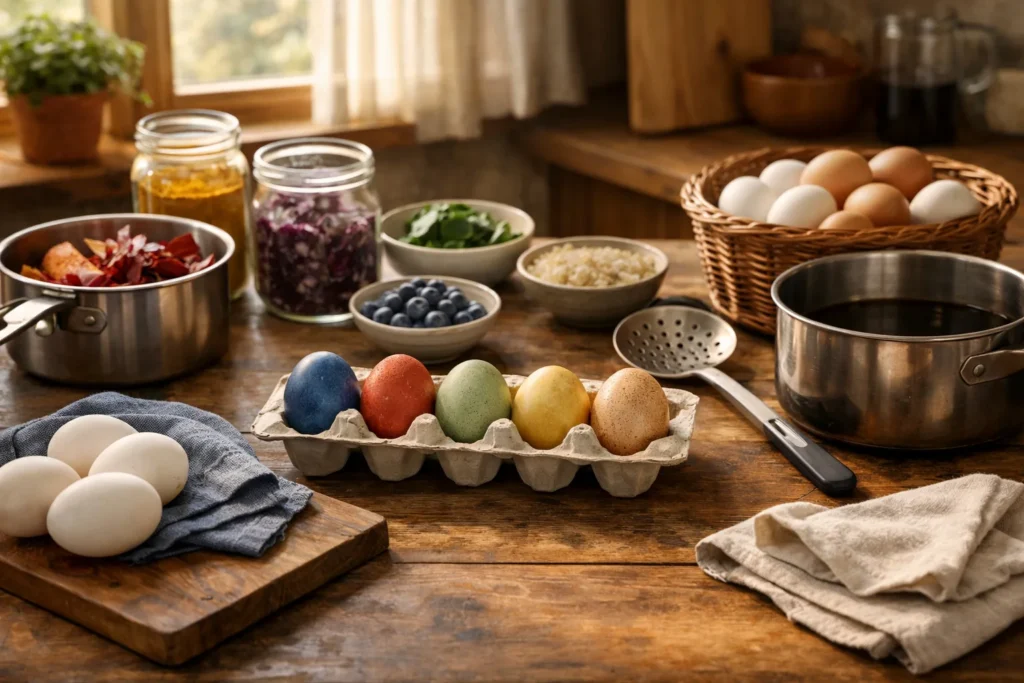
Natural dyes make gentle, earthy colors that look different on every egg, and most of the ingredients are already in your kitchen. They take longer than store-bought tablets, but the waiting is the fun part: kids can check the eggs through the afternoon and watch the color deepen.
Egg-rolling is an old springtime tradition in the United States. The White House Easter Egg Roll has been held on the South Lawn since 1878, which gives a family hunt at home some good company.
Dye chart
| Ingredient | Color | Soak time | Notes |
|---|---|---|---|
| Red cabbage, chopped | Soft blue | 2 hours to overnight | Surprisingly blue, not purple; add a splash of vinegar |
| Yellow onion skins | Orange to rusty brown | 30 minutes to 1 hour | Simmer the skins first for a deeper tone |
| Ground turmeric | Bright yellow | 30 minutes to 1 hour | Stains hands and countertops, so cover the table |
| Beets, grated | Pale pink | 1 hour to overnight | Results vary with the beet; colors can be subtle |
| Strong brewed coffee | Tan to brown | 1 to 2 hours | Faint coffee smell; good for a vintage look |
How to make the dyes
- For each color, combine about 2 cups (480 ml) of water with the dye material in a saucepan. Use roughly 2 cups of chopped cabbage, 2 tablespoons of turmeric, or the skins of 6 onions.
- Bring to a boil, lower the heat, and simmer for 15 to 30 minutes.
- Strain into a tall glass or jar, then stir in 1 to 2 tablespoons of white vinegar per cup of dye. The acid helps the color grip the shell.
- Let the dye cool to room temperature before the eggs go in. Hot dye can crack shells.
Dyeing the eggs
Hard-boil the eggs first, and let them cool completely. Lower them into the dye with a spoon, make sure they are fully covered, and keep them in the refrigerator while they soak if the soak is longer than an hour or two. The longer they sit, the deeper the color. Lift one out now and then to check, then dry on a wire rack or a paper towel.
To make patterns, wrap a rubber band around an egg before dipping it, or press a small leaf against the shell and hold it in place with a piece of old nylon stocking. After soaking, peel away the resist and the leaf leaves a pale silhouette. Rubbing a few drops of cooking oil onto the dry shell gives it a gentle shine.
Egg safety, per USDA guidance
Decorated hard-boiled eggs are still food, so handle them like food. The USDA food safety guidance for Easter eggs boils down to a few rules:
- Wash your hands with soap and warm water before and after handling raw or cooked eggs.
- Do not eat hard-boiled eggs that have been out of the refrigerator for more than 2 hours. Eggs hidden outside should be treated the same way, and the clock is even shorter in hot weather.
- Use food-safe dye materials only if you plan to eat the eggs, and keep the shells clean and uncracked.
- Refrigerate hard-boiled eggs and plan to eat them within about a week.
- If you are not sure how long an egg sat out, throw it away.
Many families make two sets: one dyed and displayed, one dyed for the hunt and thrown away afterward. Whichever route you pick, put the display eggs in the refrigerator overnight and remove them for photos.
Troubleshooting
If the colors look pale, extend the soak, add more dye material, or use brown-shelled eggs, which give warmer, deeper tones. If the shell has a chalky look, your dye was probably too acidic, so cut back on vinegar. Pastel is part of the charm.
For a quieter indoor project to do while the eggs soak, visit paper crafts and printables.