

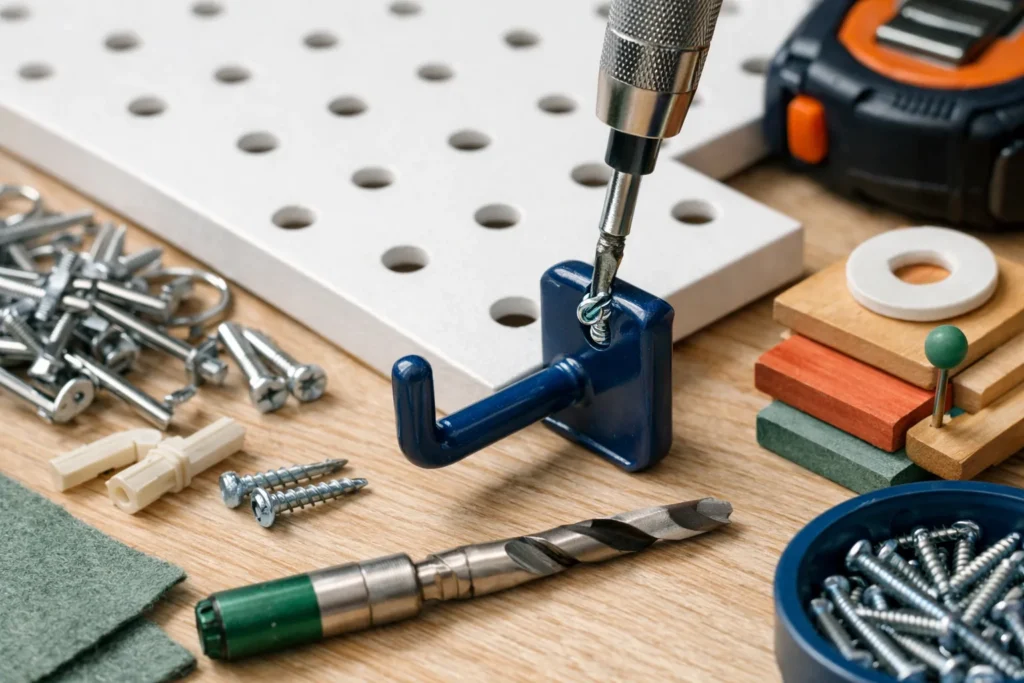
A spare bedroom in an Ohio house or apartment is often the only place with room for a craft table. Floor space disappears quickly once you add a chair, a bin of yarn, and a bag of paper, so go up: a pegboard wall holds tools, spools, and baskets at eye level and keeps the table free for the project itself. The job takes a weekend, a handful of inexpensive materials, and a few basic tools.
Plan the wall before you buy anything
Stand in the room and decide where you will sit. Your most-used tools should be within arm’s reach, between roughly shoulder and hip height. Measure the wall space you want to cover, then sketch it on paper. Standard hardboard pegboard comes in sheets of 4 by 8 feet (1.2 by 2.4 m), and many hardware stores will cut one into smaller panels for you, which saves a lot of work in a tight space.
- Measure twice, in inches, and write the numbers on your sketch.
- Choose a size that leaves at least 6 inches (15 cm) of clear wall around the edges so you can reach the frame.
- Mark where any light switches, outlets, and window trim sit. Pegboard cannot cover them.
Gather the materials
- One or two sheets of 1/4-inch (6 mm) hardboard pegboard. Thinner panels flex; thicker ones hold more weight.
- Wood furring strips, about 1 by 2 inches (2.5 by 5 cm), to create a gap behind the board so hooks can slip in
- Wood screws long enough to reach a stud, plus washers
- A stud finder, level, tape measure, and pencil
- A drill with a bit that matches the screws, and a saw if you are cutting your own panels
- Pegboard hooks, baskets, and holders in assorted sizes
- Paint and a small roller (optional)
Step 1: Find the studs
In most houses, wall studs are spaced 16 inches (40 cm) apart, center to center. Run the stud finder along the wall and mark each stud from floor to ceiling. Those marks tell you where the furring strips will go. Screws into plain drywall will not hold a loaded pegboard for long.
Step 2: Attach the furring strips
- Cut the strips to the width of your pegboard.
- Hold a strip against the wall at the top of the planned panel and check it with the level.
- Drill pilot holes through the strip and drive screws into the studs.
- Repeat at the bottom, and add a middle strip for panels taller than about 3 feet (90 cm).
The strips make a space of about three quarters of an inch (2 cm) behind the board. Without that space, hooks cannot slide through the holes.
Step 3: Cut and prime the pegboard
If you are cutting a full sheet, do it outdoors or in a garage, and wear a dust mask and eye protection. The Occupational Safety and Health Administration (OSHA) publishes guidance on dust and hand-tool safety, and its basic message is simple: wear the gear before you start the saw. Sand the cut edges lightly.
Painting is optional but worthwhile. A coat of primer and two coats of white or soft color make the wall look neat and give you a clean background for tools. Let the paint dry for a day before you hang anything on it. If you use paint, work with the window open and follow the label.
Step 4: Mount the board
Lift the panel onto the furring strips, line up the edges, and check it with the level. Drive screws through the board and strips into the studs, one in each corner first, then along the sides every 16 inches. Use washers so the screw heads do not pull through the hardboard. Do not overtighten, since hardboard cracks around the holes.
Step 5: Sort supplies by family
Lay everything out on the floor before you hang a single hook. Group like with like, then map the groups to zones:
- Cutting zone: scissors, rotary cutter, rulers, and craft knife, hung high and out of children’s reach.
- Paper zone: a basket for scrap, hooks for hole punches and corner rounders.
- Yarn and thread zone: dowel pegs for skeins, a small hook for tape measures and stitch markers.
- Paint zone: cups for brushes (bristles up), a rack for tubes, and a wire basket for palettes.
Put the things you use every day in the middle. Everything you reach for only once a month goes up high or lower down.
Know the load limits
Hardboard pegboard is strong enough for ordinary craft tools, but it is not a shelf. A good rule is to keep each hook to a few pounds, and to spread heavy items across several hooks instead of loading one. Avoid hanging heavy glue guns, bins of wet paint, or large tool kits. Check the label on every hook and holder, and if a hook starts to bend, redistribute its load. Mount any shelf brackets into the furring strips, not into the board alone.
Keep it flexible
Take a photo of your layout once you like it. Pegboard is meant to be rearranged, so after a month, move any hook you never use. Add a few spare hooks and a basket for odds and ends, and label each zone with a pencil outline on the board. If you ever move, the whole wall comes down with the same screwdriver.
For ideas on what to put in the baskets, see yarn crafts and patterns and plan your yarn storage zone first.