
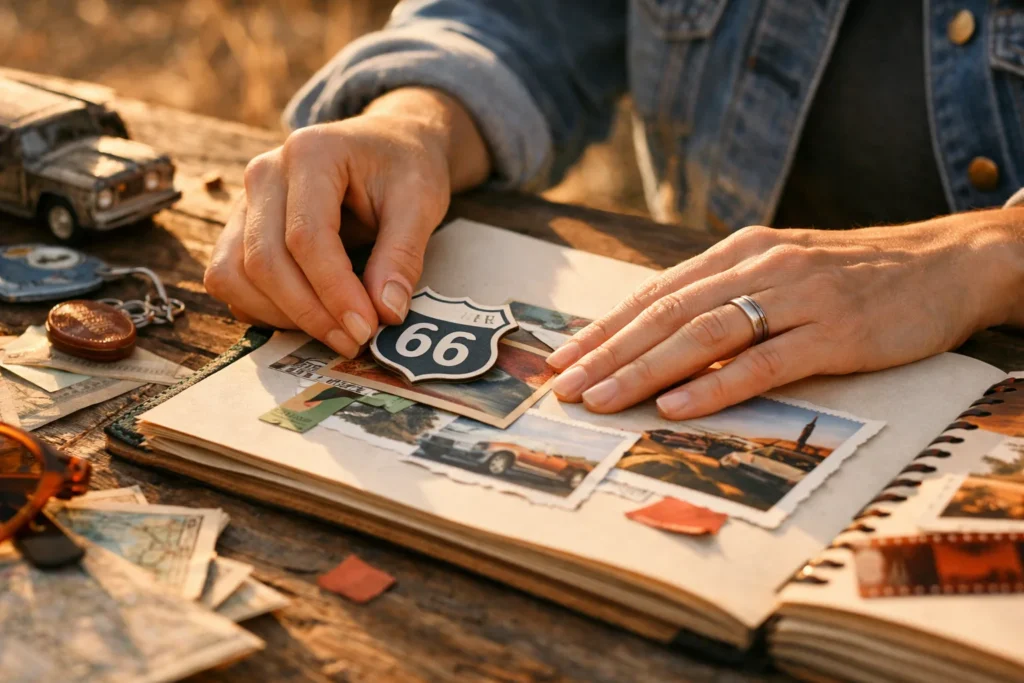
A road trip leaves a surprising pile of paper behind: motel receipts, ticket stubs, folded maps, postcards, and a napkin with a doodle on it. If your family drove part of Route 66, which runs from Chicago to Santa Monica, you probably came home with more than you realized. A scrapbook turns that pile into a story you can open any time.
Sort before you stick
Spread everything on a table and make three piles: the items you love, the items that are fine, and the ones to leave out. A good double page uses about six to eight pieces, not twenty. Pick one item as the star, such as a postcard or a ticket, and build the page around it.
If you drove a section of the old highway, you may have picked up brochures from the places you stopped. The National Park Service runs the Route 66 Corridor Preservation Program, and its materials, maps, and photos are good sources for background details you can add to your captions.
Plan a double page in four steps
- Choose a background. A neutral cardstock in cream or gray keeps the focus on the items. Use a map for a border if you have a spare.
- Place the star item. Put it slightly off center on the left page, and let the other pieces surround it.
- Arrange without gluing. Move items around until the layout balances. Leave room for photos and captions.
- Take a quick photo of the layout. It helps you remember where each piece goes once you start gluing.
Group items by place or by day, so each spread tells one stop. A spread could be titled with a town name and a date, with a ticket, a postcard, and one photograph.
Write captions people will enjoy
A caption can be a few words: who was there, what you ate, what the weather was like. Add one detail that only you would remember, such as the song on the radio or the joke the kids kept repeating. Write in pencil first, then trace with a fine pen.
Keep your writing in the same place on every page, for example along the bottom, so the album looks tidy. Use stickers or small labels only if they suit the mood, and use them sparingly.
Glue and protect your memorabilia
Use an acid-free adhesive, such as a glue stick or tape labeled acid-free, so your keepsakes do not yellow. Newspapers, receipts, and thermal paper fade over time. Scan or photocopy these on acid-free paper and glue the copy, keeping the original in an envelope at the back of the album.
Do not glue fragile items, such as a folded map, flat. Instead, make a small pocket from a spare page, glue only the edges, and slide the map inside so it can be unfolded.
Add a map to tell the route
A small route map makes the album easier to follow. Trace the highway on a sheet of plain paper, mark each stop with a dot, and number the dots to match the pages. Children enjoy drawing the little car that travels from one dot to the next, and it gives every spread a clear place in the story.
Finish the album
Put a title page at the front with the route, the dates, and the names of everyone on the trip. Place a thin sheet of tissue or parchment between pages if the spreads have raised items. Store the album flat in a cool, dry cupboard, and share it at the next family dinner. A road trip is a good story, and a scrapbook helps you tell it well.