
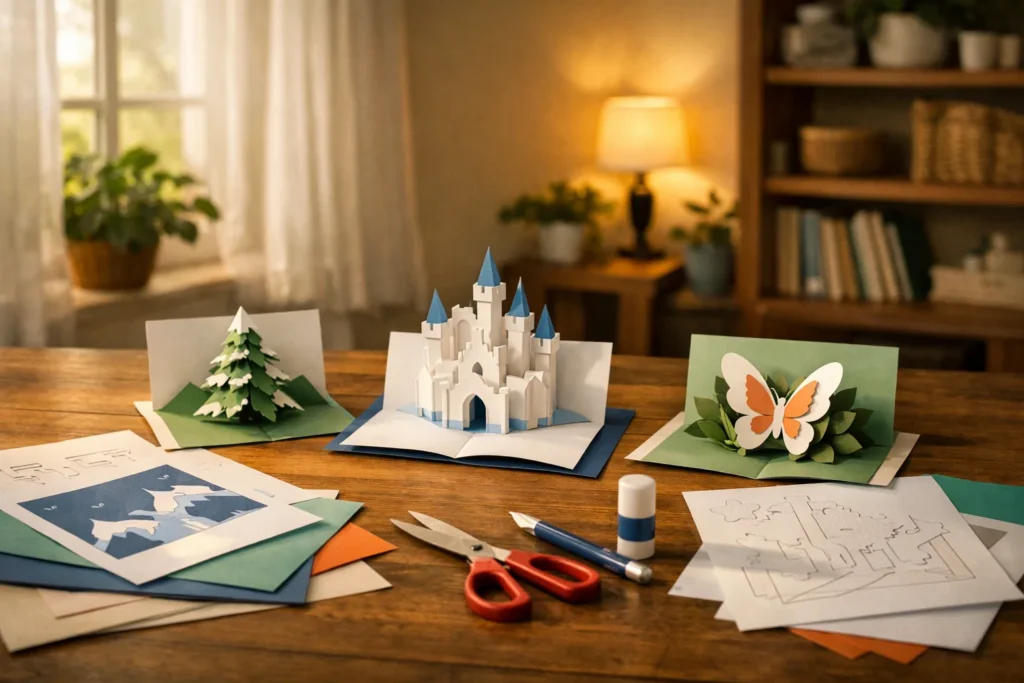
Pop-up cards look like magic, but most of them rely on a handful of folds. Robert Sabuda, the American paper engineer known for his pop-up books, has shown generations of readers how a flat sheet of paper can turn into a three-dimensional scene. You do not need his skill to make a pretty card. You need a printed template, a sharp pair of scissors, and about an hour.
Start with the right paper
Print your template on a medium-weight cardstock, roughly 65 to 80 lb (176 to 216 gsm). Thinner paper tends to sag, and thicker stock is hard to fold cleanly. Choose a white or light color so the lines you print can be covered when you glue, and keep a second sheet of plain colored paper for the outside of the card.
A craft knife and a cutting mat give the cleanest cuts. If you use scissors, work slowly, and keep your free hand flat on the paper. When children help, give them the folding and gluing and keep the knife for the adult.
The V-fold
The V-fold is the simplest mechanism, and it is a good first try. Fold a sheet in half to make the card. On the inside, cut two parallel slits from the fold toward the center, about 1 inch (2.5 cm) apart and 2 inches (5 cm) long. Push the strip between the slits through to the other side, and crease it to form a small platform that pops forward when the card opens.
Glue a paper shape, such as a bird, a heart, or a flower, to the front edge of the platform. Make sure the shape does not stick out beyond the edge of the card when it is closed, or it will bend.
The stair step
The stair step makes layers that rise like steps and works well for a skyline, a cake, or a row of trees. On your template, cut along the solid lines and fold along the dotted lines. Each step should fold forward and then back, creating a Z-shaped profile.
- Cut the solid lines from the fold of the card outward.
- Crease each step both ways to soften the fold.
- Open the card slightly and push the steps forward so they sit like stairs.
- Close the card to check that nothing sticks out.
Use the bone folder or the edge of a ruler to get sharp creases. A soft crease makes the mechanism floppy, and it will not hold its shape.
Gluing without wrinkles
Use a thin layer of a white craft glue or a glue stick labeled non-toxic, and apply it with a small brush. Too much glue makes paper curl and wrinkle. Hold each piece in place for about 30 seconds, and then place a heavy book on top while it dries. Check the label of any adhesive for the ACMI seal if children will be gluing.
Where to find more ideas
The Library of Congress has digital collections of historical paper engineering, including old movable books, that you can browse for free on its website at loc.gov. Looking at how earlier makers built their mechanisms is a great way to find a new fold to try.
Start simple, and make three or four cards before you try a complicated design. Every pop-up is built from the same basic folds, and once you understand how they work, you can invent your own. A birthday card, a thank-you note, or a card for a classroom full of friends can all begin with a single slit and a crease.