
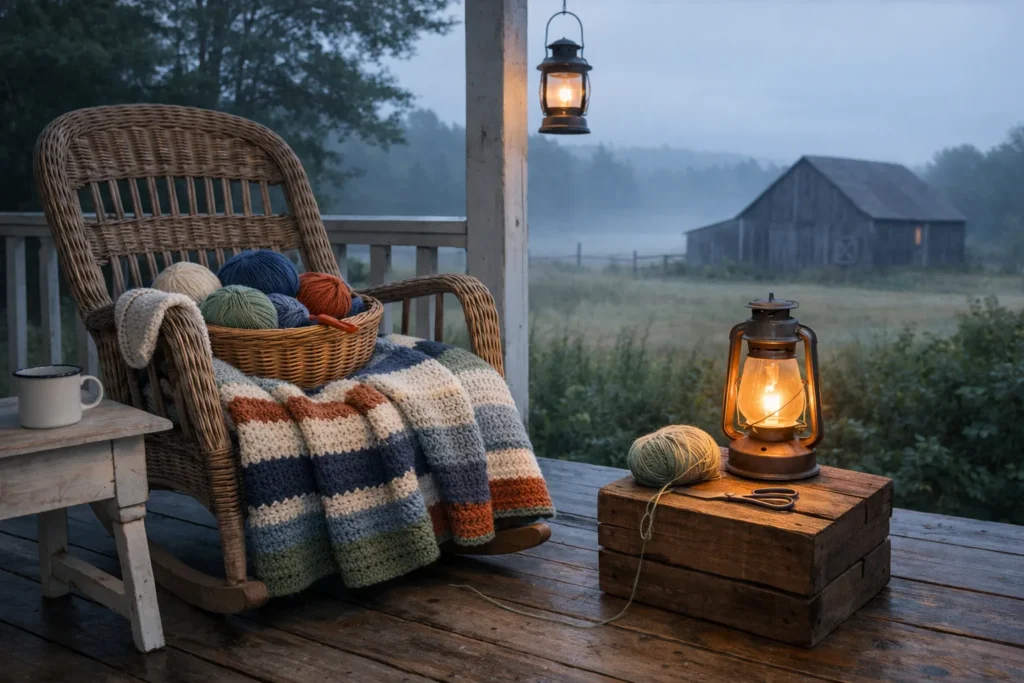
The classic farmhouse blanket you see draped over a rocking chair in a Maine kitchen is not a complicated project. It is one stitch, repeated until the blanket is as long as you are tall. If you can make a chain and a double crochet, you can make this throw, and by the third row you will stop looking at your hands.
This guide walks you through a lap blanket of roughly 40 by 50 inches (100 by 125 cm), a size that fits a sofa, a stroller, or a child’s bed. Every number below is an estimate. Your tension, your yarn, and your mood will move them a little, and that is fine.
What you need before you start
Gather everything before you cast on, because running out of yarn halfway through a blanket is the most common way a first project stalls.
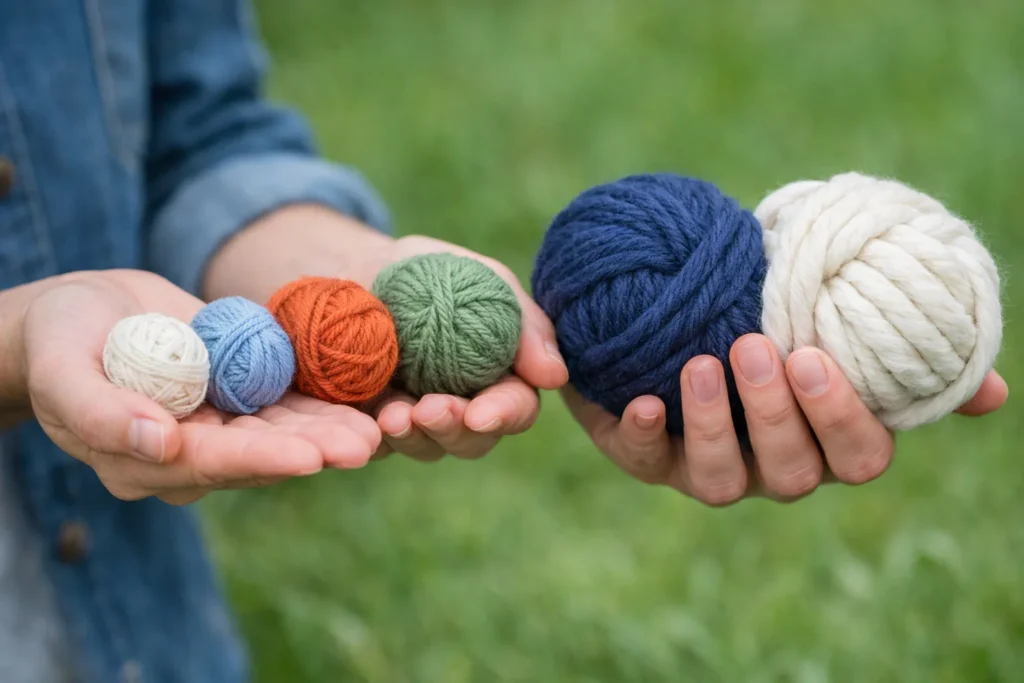
- Yarn: a medium-weight yarn, category 4 in the system published by the Craft Yarn Council, often labeled worsted. Plan on roughly 1,000 to 1,200 yards (900 to 1,100 m) in total for a throw this size, and buy one extra skein.
- Hook: size I-9 (5.5 mm) is a common starting point for this yarn. Check the label, and go up a size if your fabric feels stiff.
- Scissors and a yarn needle for weaving in the ends.
- Stitch markers or a few safety pins to mark the first stitch of a row.
Pick a wool blend or a cotton-acrylic blend if the blanket will be washed often. Pure wool gives the traditional look many Maine knitters and crocheters prefer, but it asks for more careful washing. Choose a solid cream, oatmeal, or soft gray for the farmhouse feel, or two colors if you want a stripe.
Make a slipknot and the starting chain
Begin with a slipknot on your hook, then wrap the yarn over the hook and pull it through the loop. That is one chain stitch. Keep going until your foundation chain measures about 40 inches (100 cm) when laid flat, without stretching it.
For a double crochet blanket, a chain of about 112 stitches usually gets you close to that width with worsted yarn and a 5.5 mm hook. Count in groups of ten, and use a marker at every tenth stitch so you do not lose your place. If your chain comes out tighter than the rest of the fabric will be, switch to a hook one size larger just for the chain.
Row one: your first double crochets
Skip the first three chains, which count as your first double crochet. Then follow this sequence for each stitch:
- Wrap the yarn over the hook.
- Insert the hook into the next chain, picking up the top loop and the back bump if you can see it.
- Wrap the yarn over again and pull up a loop. You now have three loops on the hook.
- Wrap the yarn over and pull through the first two loops.
- Wrap the yarn over once more and pull through the last two loops.
Work one double crochet into every chain across. At the end of the row, you should have about 110 stitches, counting the turning chain as the first. If you are one or two off, do not panic. A blanket forgives a stitch or two, and you can adjust it in the second row.
Turning the work and keeping the edges straight
At the end of every row, chain three, then turn your work so the back faces you. The three chains stand in for the first double crochet of the next row, so you do not work into the base of those chains. Skip the first stitch at the base of the turning chain and work your first real double crochet into the second stitch.
The last stitch of each row is the one beginners miss. It sits in the top of the previous row’s turning chain. Look for the small circle of chain at the edge and put your hook right into it. If you skip it, the blanket slowly gets narrower, and no amount of blocking will bring the sides back.
How many rows and how much yarn
With worsted yarn and a 5.5 mm hook, double crochet rows are roughly 0.75 inches (about 2 cm) tall. That means you need around 65 to 70 rows to reach 50 inches. Most beginners finish a row in five to ten minutes, so plan on a total of about 8 to 12 hours of crocheting, spread over a few weekends.
Watch how fast you are using the yarn. Weigh your remaining skeins at the halfway point, or note how many skeins you have used by row 30. If you are on track to run short, you still have time to buy another skein in the same dye lot.
When a skein ends, do not tie a knot in the middle of a row. Instead, finish the last stitch with the old yarn, leaving a 6-inch (15 cm) tail, and begin the next stitch with the new yarn, also leaving a tail. You will weave both in later, and the join will be invisible.
A simple farmhouse border
When the body reaches the right length, finish the last row, cut the yarn, and pull the tail through the final loop. For a clean frame, join yarn at any corner and work a round of single crochet along every side, putting three single crochets into each corner stitch so the border lies flat.
The plainest edge is the most traditional. In many Maine households, a quilted or crocheted blanket has a narrow, tidy border and nothing else. If you want a little more texture, add a second round of double crochet worked in the back loops only, which creates a soft ridge.
Washing and caring for the finished blanket
Read the label that came with your yarn, because it overrides every general rule. Many wool blends do best washed by hand in cool water with a gentle soap, pressed, not wrung, in a towel, and dried flat. Machine-washable acrylic and cotton blends can usually go through a gentle cycle and a low dryer.
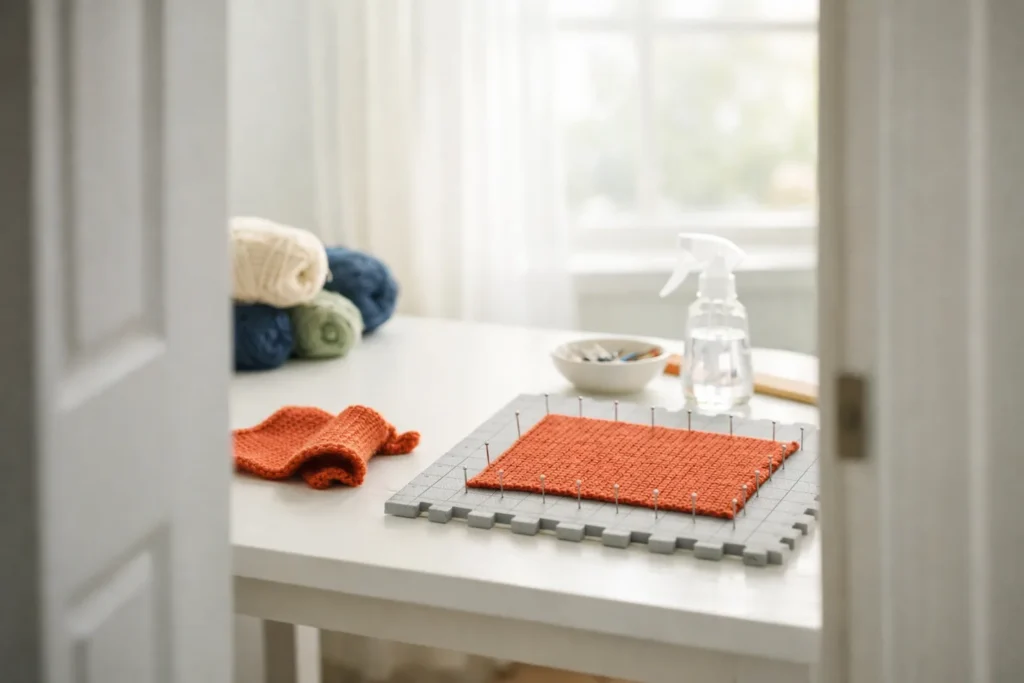
A blanket will often grow a little the first time you wash it. Lay it flat, ease it back to its measurements, and let it dry away from direct heat. If you want a wider reference, the Craft Yarn Council’s care symbols are printed on most labels in the United States, and they are worth learning because they are the same on every skein.
Once the blanket is dry, fold it over a chair back or a basket. If you want more projects for the corner where you keep your yarn, our guides in craft supplies and studio cover how to set up a small space for storage.
A blanket made of one repeated stitch is also a great teacher. By the end of it, your tension will be even, your edges straight, and your hands will know the rhythm without help.