
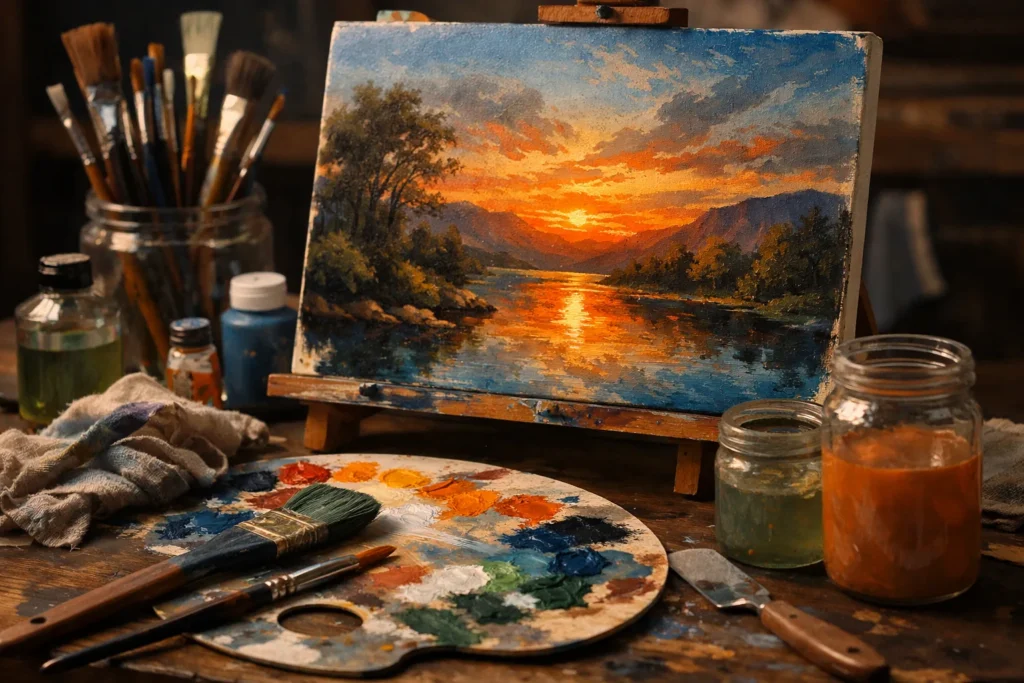
In the middle of the 1800s, a group of American painters set out along the Hudson River Valley and the Catskills to paint the land as something grand and almost sacred. Today we call them the Hudson River School. Their skies glow, their trees frame a distant light, and their rivers carry the sun’s reflection toward the viewer.
The Hudson River School painters celebrated the American landscape with detailed, luminous views of mountains, valleys, and rivers, and their work expressed a sense of awe at the nation’s natural wonders. — The Metropolitan Museum of Art, paraphrased from its collection notes
You do not need years of training to try the mood. This study uses acrylic paint, six colors, and about two hours. It is a lovely project for a Sunday, and the result looks far more complicated than it is.
Gather six colors and a few brushes
A limited palette helps you see the relationships between colors, and it keeps the picture harmonious. You need:
- Titanium white and ivory black or a dark brown.
- Cadmium yellow or a similar warm yellow, and yellow ochre.
- Cadmium red or a warm orange-red, and ultramarine blue.
Use a canvas board of about 9 by 12 inches (23 by 30 cm), a large flat brush for the sky, a medium round brush, and a small round brush for details. Choose student or artist acrylics labeled with the ACMI AP seal, and keep a jar of water and a paper towel nearby.
Step 1: paint the graded sky
Mix a soft yellow with a touch of white and paint a band across the lower half of the sky, near the horizon. Move up and blend in a little orange, then a bit of red. Near the top, mix blue with white and a touch of red to make a soft violet. Blend the colors while the paint is still wet, using broad horizontal strokes.
Acrylic dries quickly, so work in sections. If a transition looks harsh, return with a damp brush and soften it. The sky should glow brightest just above the horizon, where the sun sets.
Step 2: add distant hills
When the sky is dry, mix violet and a little white to make a pale hill shape along the horizon. This is the farthest layer, so keep it pale and soft. Add a second, darker ridge in front of it, and a third in front of that, each a little darker and warmer than the last. Layering creates depth, which is the secret to this style of painting.
Step 3: mix the water
Paint the lower third of the canvas with the colors of the sky, only a little darker. Use horizontal strokes, and add a vertical path of bright yellow and orange directly under the sun. Break the path with a few short horizontal strokes of the same color. That is the reflection.
Step 4: add trees and the foreground
Mix black with a little blue and brown for a deep, cool dark. With the small round brush, paint a tree trunk on the left side and add branches that reach into the sky. Use short dabs for the foliage. Add a few darker banks and rocks along the bottom, so the viewer feels they are standing on the shore.
Keep the trees as silhouettes, with little detail. In a Hudson River School scene, the dark foreground frames the bright light in the distance and leads the eye across the water.
Step 5: final highlights
Dab a few touches of pale yellow along the tops of the hills and the edge of the clouds. A single small spot of white at the sun’s center creates a focal point. Step back, look at the painting from a few feet away, and fix only what you really notice.
Let the painting dry for a day, and then seal it with a clear acrylic varnish if you like. To see the real thing, visit the collections at The Metropolitan Museum of Art, which show how those painters handled light, and then try a second study with a different time of day.